1984 Pininfarina Azzurra (Fiat Spider)
1984 Fiat 124 Spider for sale in Dillsburg, Pennsylvania, United States
| Condition: | Used |
| Item location: | Dillsburg, Pennsylvania, United States |
| Make: | Fiat |
| Model: | 124 Spider |
| Type: | Convertible |
| Year: | 1984 |
| Mileage: | 98,000 |
| VIN: | ZFRAS00B6E5504633 |
| Color: | Yellow |
| Engine size: | 2.0 |
| Number of cylinders: | 4 |
| Power options: | Power Windows |
| Fuel: | Gasoline |
| Transmission: | Manual |
| Drive type: | RWD |
| Interior color: | Black |
| Options: | Convertible, Leather Seats |
| Vehicle Title: | Clear |
| Want to buy? | Contact seller! |
Description for Fiat 124 Spider 1984
I am reluctantly selling my 1984 Pininfarina Azzurra (Fiat Spider). If you are reading this you likely know this was the last of the Fiat Spiders – last year being the 1985.5 model. There were 2,577 Spider’s made in 1984, making this one of the lowest production years of the spider. This model year has some unique parts that sets it apart from other years – details can be found at: http://www.pininfarinaazzurra.com.
This car has a 2.0 Liter DOHC engine with Fuel Injection. It has a five speed manual transmission and four wheel disk brakes.
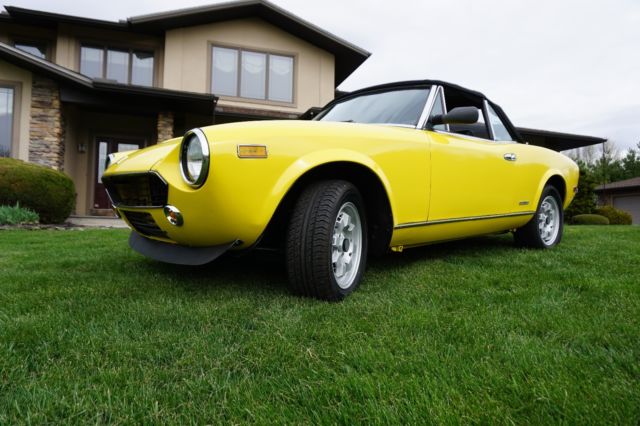
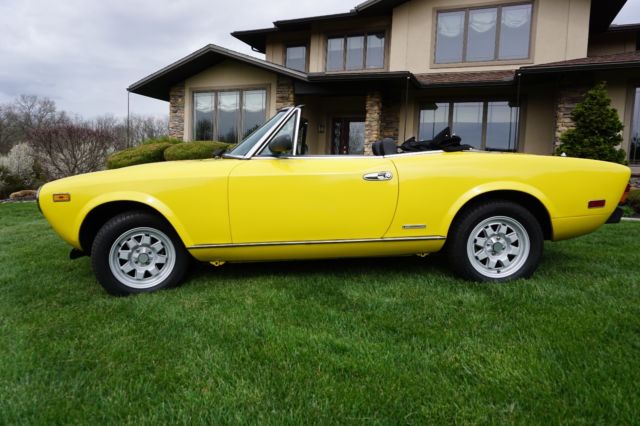
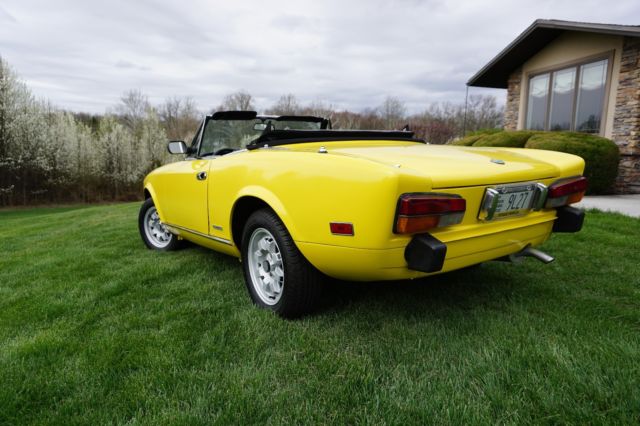
I purchased this car in 2005 at which point it was sitting for about 21 years (based on 1994 inspection sticker). The previous owner had started a restoration which included painting the body. The paint was not up to my standards so I proceeded to restore the car starting with the mechanicals and finalizing with a professional paint job. The original car was a blue metal flake, but was painted bright yellow as seen in the pictures. There are virtually no places on the car that still show the blue paint. In general the paint and body shows well, but would look beautiful if it was wet and buffed. The car runs very well and is fun to drive.
I was not expecting to sell this, as I have hundreds of hours of work into it, but do to unforeseen circumstances, I am forced to sell. I did my best to describe the car in detail, but please do not hesitate to contact me with you questions. I also welcome you to come see the car at any point in time to make sure this is the car you expect it to be. I have most of the receipts for the parts I purchased when restoring the car. They will go with it. I also have a lot of in progress restoration pictures in case you want to see specific pieces of the unrestored car. I only wish I took more pictures!
Engine
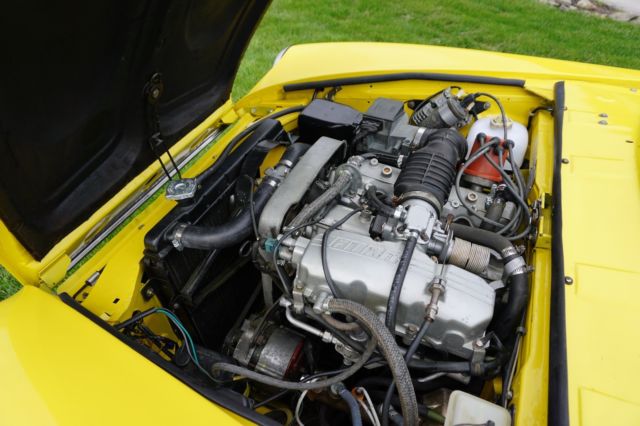
The engine and transmission were removed from the car so the engine bay could be cleaned and repainted. All of the wires and terminals were cleaned. New grommets and clips in the engine bay were replaced where needed and available. The head and oil pan were removed from the engine. Cylinders still showed correct cross hatching and internals were very clean. All new gaskets and seals were installed. Head was checked for straightness. Valves were removed, head was cleaned, and valves were lapped and adjusted with new valve seals installed. Head was reinstalled using a Fel-Pro head gasket.
Fuel injectors were all sent out to be rebuilt, and the fuel rail was redone with the correct 7.5mm hoses. All fuel hoses were replaced with the exception of the vent hoses in the back of car as they appeared to be in good condition and not under pressure (and period correct cloth covering). A new fuel tanks was purchased and all metal fuel lines were flushed and new filter and pump installed. The engine runs very well, does not burn oil and does not have any taps or pings. Oil pressure reads well when cool but reads low when warm – common gauge issue in spiders. I did not want to replace the factory gauge with an aftermarket model. Links to this common gauge accuracy issue are below:
http://www.fiatspider.com/f15/viewtopic.php?f=5&t=27528&p=214611&hilit=oil+pressure+low#p214611
http://www.fiatspider.com/f15/viewtopic.php?f=5&t=31368&p=244494&hilit=oil+pressure+low#p244494
The following are the items (I can remember) that have been replaced with brand new parts:
Engine Related Items Replaced – New
--------------------------------------------------
Engine Gaskets
Headgasket - Felpro
Engine Seals
Timing Belt
Alternator Belt
Timing Belt Tensioner Bearing
Ignition Module (in distributor)
Oil Pan
Oil Pressure Sensors
Ignition Cap
Ignition Rotor
Spark Plus
Ignition Wires
Exhaust
Exhaust Hangers
Rebuilt Fuel Injectors
Fuel Injector Grommets and seals
All New Fuel Lines front to rear (7.5 mm used for injectors)
Gas Tank
Fuel Filter
Oil Filter and Oil
Fuel Pump
Engine Mounts
Air Filter
Vacuum lines
Cooling System:
The cooling system was essentially all replaced with new parts. The heater fan was removed from the heater core box and replaced with a lower mileage unit. Before it was installed, it was disassembled and greased. 2 of the steel heater core pipes were replaced with good used units. The Fuel Injection pre-heat cap was replaced with a good used unit. The cooling system has the coolant flush assembly which is used to properly bleed the system. The radiator, water pump, heater valve and heater core were all replaced with new parts. Heater box top door was replaced with a used unit, as the original had weakened due to rust. The radiator fan turns on correctly at the right temperature and the engine cools correctly and does not overheat.
The following are the items (I can remember) that have been replaced with brand new parts:
Cooling Related Items Replaced – New
-----------------------------------------------------------
Coolant Overflow Tank
Radiator Cap
Coolant Sensor
Water Pump
Coolant Hoses
Radiator
Heater Core
Heater Valve
Heater Valve Hoses
Thermostat
Transmission
The transmission was cleaned and disassembled. The gears and bearings were checked for wear. All new gaskets and seals were installed, along with the clutch rod boot. The synchro’s were replaced along with one synchro sleeve that showed wear. The reverse gear was replaced along with 2 bearings that were deemed worn. The unit was reassembled and in the correct GL1 gear lube was used to refill the unit. The unit shifts perfect and the unit stays in gear as it should. The universal joints were in good condition and therefore not replaced.
The following are the items (I can remember) that have been replaced with brand new parts:
Transmission Related Items Replaced – New
-----------------------------------------------------------
Transmission Gaskets
Transmission Seals
Internal Rubber Transmission Boot
4 Transmission Synchro’s
1 Transmission Synchro Sleeve
1 shift fork
4th gear roller bearing
Main shaft bearing
New reverse Gear
New GL1 Fluid
New Clutch Pilot Bearing
New Clutch Release Bearing
Transmission Mount
Driveshaft Center Support Unit
Driveshaft Rubber Coupler
Rear Differential Oil
Clutch Fork Boot
Brakes and Suspension
The brake system was disassembled, metal brake lines were inspected and flushed. All of the calipers were disassembled and rebuilt. One unit was not rebuildable so a new one was purchased. In addition, one caliper required a new piston which was purchased and installed. Four new brake disks were installed, along with new brake pads. All 5 caliper to brake pipe hoses were replaced with new ones. The brake pressure regulator was replaced with a new unit. The brake master cylinder and Brake Booster were replaced with new units and the hoses that connect to them were replaced with the correct braided pieces. Crimp clamps were used to secure the hoses.
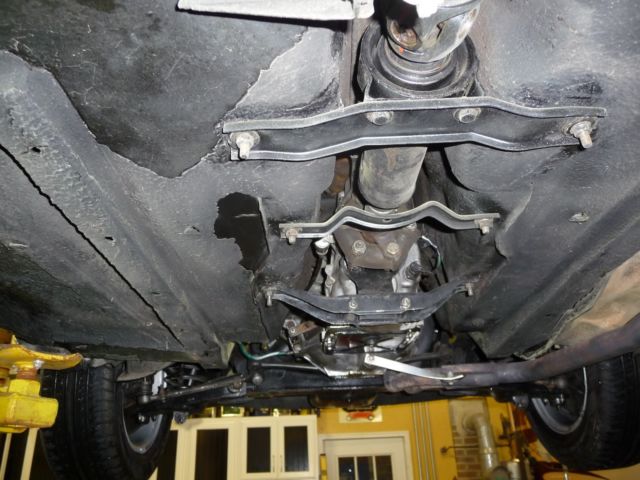
The front suspension and cross member was removed from the car. Two of the bolts that hold the subframe on were showing signs of pulling through the frame as is common with the Spider. A jig was built to weld in support brackets in the exact position to strengthen the subframe mounting area. All of the control arms were cleaned and painted, and the bushings were all pressed out and replaced with quality units. All but two of the tie rod ends were replaced (as these 2 looked almost new). The Ball joints were inspected and two were replaced. All 4 sway bar bushings were replaced along with the shock bump stops. All four shocks were replaced while the suspension was removed. The steering idler was removed and replaced with the upgraded unit that has bearings built into it. The differential fluid was drained and replaced. The two trailing arms were not replaced, but probably should be as there is a slight bend to them. So slight I thought it was factory and did not realize that they do not have a bend in them until recently.
The following are the items (I can remember) that have been replaced with brand new parts:
Brake/Suspension Related Items Replaced – New
----------------------------------------------------------------
Brake Disks
Brank Pads
All 5 Brake Hoses
Brake Master Cylinder
Brake Booster
Brake Reservoir Hoses
Brake Calipers either new or Rebuilt
Brake Pressure Regulator
Brake Pads
4 Shocks/Struts
Ball Joints
Tie Rod Ends
8 Control Arm Bushings – upper and lower both sides
Steering idler
Suspension Bump Stops
Sway Bar Bushings
Body and Exterior
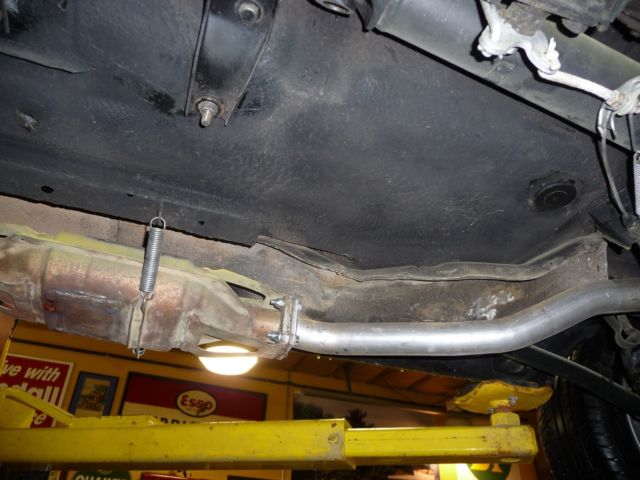
The car was painted when I purchased it 3 years ago. The paint job was a single stage job and it had some drips and thin spots and was not to the quality I wanted. I had the car block sanded, primered and sprayed with a 2 stage base coat, clear coat paint. The car was painted about 1 year ago and always kept in the garage. It was clear coated with one gallon of clear and it ready to be wet sanded and buffed to really make it shine. The only evidence of rust on the body I could find were the lower parts of the doors – it appears there is putty in them. I did not realize this until after it was painted or I would have had the bottom door skins done. Also the rear valance appears to have some putty in it, but not sure if it was due to rust or just dings. The fender wells all appear to be rust free, but I did not have it taken down to bare metal to be sure. In general the body is very straight and shows very well. The shock towers and under carriage are very clean. The floors are original and required no replacement anywhere. The undercoating has pealed off at several places on the floor, but I did not re--undercoat as I wanted to show there was not rust. I cannot describe how clean and rust free the under carriage is – it is amazing for a car of this age. Rocker panels are rust free and in general the under carriage looks spotless and appears that no work was ever done to replace any rust. No paint overspray as everything was removed before painting.
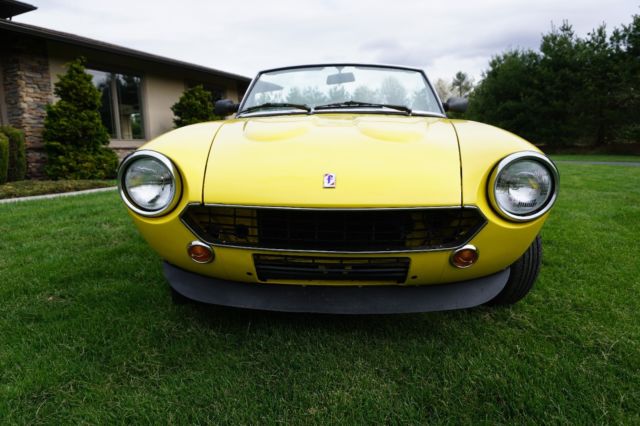
The car was done using the popular bumper-less look. The front shock holes are used to hold the the turn signals from Allison Automotive – it looks factory. Very easy to reverse back to a factory look if you want to. A new front spoiler was also purchased from Allison. The rear bumpers were fabricated using bumper blocks from Allison – I like this look better than the Abarth bumpers. I fabricated pipes with brackets that bolt into the original holes in the frame. These brackets then screw into the bumper blocks. This was a well-designed approach but is for looks only as it will obviously not protect the car from a rear end collision. Factory rubber trip that goes around bumper holes were used. If the new owner decides they want the factory bumpers back in place, they will bolt right in without any modifications. One nice bumper (not sure if it is rear or front) comes with car. It is missing the rubber pieces – but the chrome looks nice. Also the original front turn signals come with the car.
The front and rear badges were all replaced with new units. The wheels are straight (common issue with Speedlines), and glass beaded. The wheels were then etch-primed and then epoxy primed. The wheels were painted with 3 base coats of bright silver. The black block stickers were applied and the wheels received 3 coats of clear coat. Tires look to be new, but they were on the car when I purchased it, three years ago as I did not purchase them. The tires were installed on the rims and balanced. The center caps are very close to the original type used on 84/85 Azzurras, which are no longer made. They are just silver in the middle and do not have a logo – just like they came from the factory. I had clear disks made to replicate the original caps that have a silver backing. They are hard to tell they are not original caps.
All weather stripping was replaced and most of the rubber trim was replaced (except where condition was good or replacement part quality was suspect). This model has the rare through window dual mirrors which are intact, but do show their age. All new light bulbs throughout car were replaced with new ones, including the headlights. Headlight trim rings were replaced with used ones that are in excellent shape. The rear tail lights are original and show their age. Rear license plate lights were replaced with used ones of good quality. Stainless steel molding at bottom of doors are in average condition with some dings. The door alignment lugs were replaced with the better quality plastic type. Also, the female lug pieces were replaced with great quality used ones.
The convertible top was replaced with a quality Canvas top – not the cheaper vinyl units. All new top cables were replaced when the top was done. The frame was removed, inspected, lubed and painted. Top crossmember caps are intact. Top fits very nice and tight. The rubber that connects the top to the windshield frame was replaced. A new top cover (boot) comes with the car, but it does not have the hardware components to use it. These parts cost about $140 if you want to use the boot cover.
The following are the items (I can remember) that have been replaced with brand new parts:
Body/Exterior Related Items Replaced – New
-----------------------------------------------------------
Front Turn Signal Lights
Rear Bumpers – custom made
Rear Bumper Rubber Trim Pieces
Front Spoiler
Grill gasket
Wheel Center Caps
Emblems
Headlights
All new bulbs throughout car
Courtesy Light Gaskets
Window Seals
Trunk Seals
Hood Seals
Weather Stripping
Wipers
Wiper Pump
Cloth Convertible Top
Convertible top Wires
Convertible Top Boot
Top rubber – Meets Windshield
Door Lugs
1 Door Spring
Interior
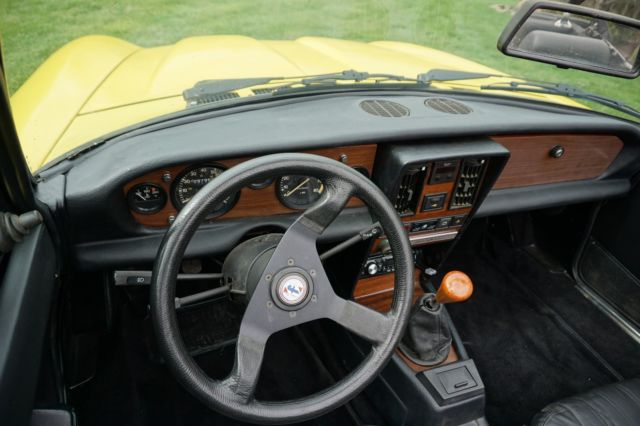
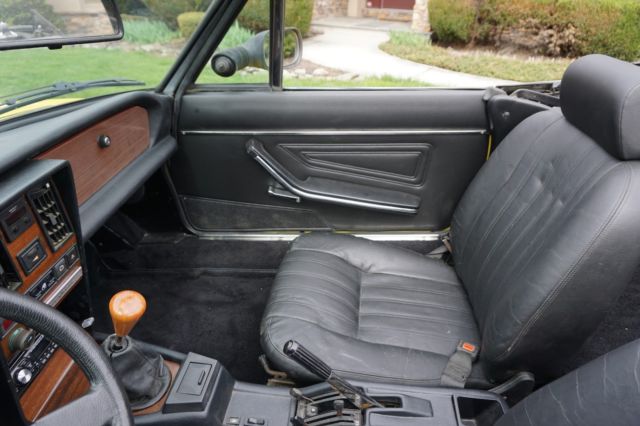
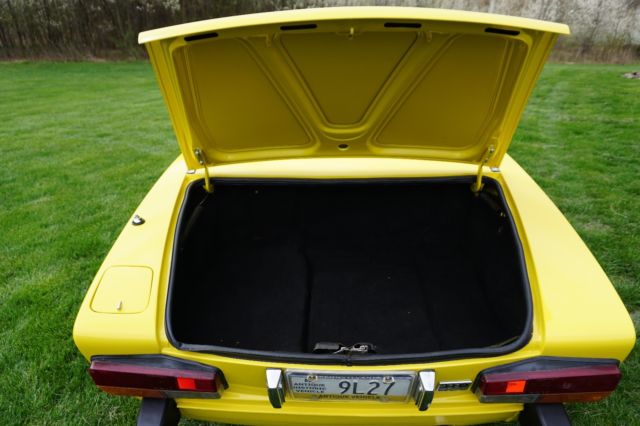
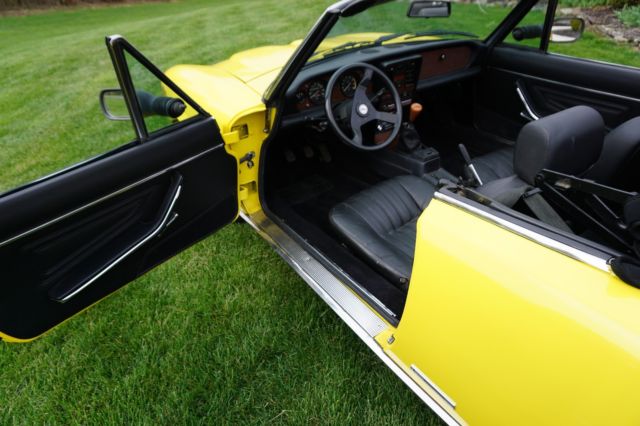
The interior was removed and cleaned. The floor was in excellent shape with no rust. Some of the sound deadening coating was chipping and I removed all loose pieces. New carpet was installed. The carpet is the correct shapes for the 84-85 model Azzura (the carpet on the back deck was replaced inthis kit also). The dash and center console was removed and each wiring terminal was cleaned. Caps were installed on the dash and center console (one on floor). A new radio with USB port was installed (cheap no name unit). New Pyle speakers were installed in the side panels in the front. The power window mechanisms were greased and connections cleaned. A new power window switch was installed. Power windows go up and down slowly which is typical of Fiat Spiders (and Fiats and even Ferrari’s in general). There is a fix which can be done to include adding relays to the circuit but this was not done in an effort to keep the car’s wiring harness in-tact. New door panels were installed which includes the top and bottom pieces. The rear trunk electric release does work, but it does not open the trunk. I believe because the car has new trunk weather stripping on it, it puts too much pressure on the release mechanism and when you push the button it is not strong enough to release. If you do it with trunk open, it works. I assume once the weather stripping settles, it will open – or it may need to be adjusted.
The windshield wiper assembly was removed and cleaned and greased. It works well but moves slower than modern cars. There is a relay fix you can use for this issue, but I wanted to keep the factory wiring in tact.
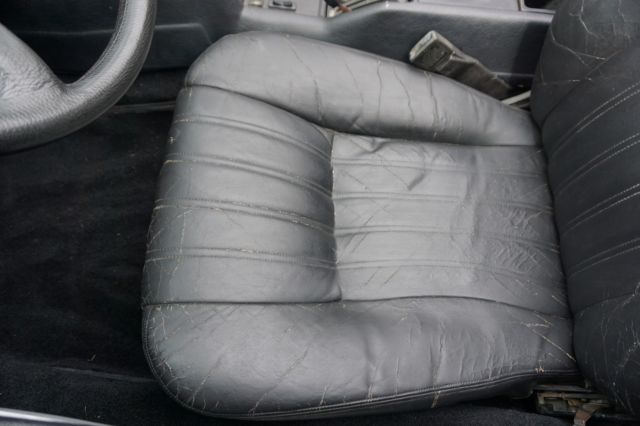
Seats are original leather which was only used in 84 and 85, I believe. They were very dry and not in good condition when I got the car. They appear to have been tan in the past and at some point dyed black. I purchased a leather hydration and dye kit from Leatherworld Technologies and restored the seats using these professional grade supplies. In general, they look just ok because the leather is so dry, cracks appear and you can see the tan in the cracks. I wanted to keep the rare leather seats so that is the approach I took. The dye took nicely to the leather and it does not lift or come off, but the cracks make it look less than optimal. The leather is still rather stiff so more hydration would be welcoming. A recoat may make them look better, or you could opt for vinyl replacement covers or even leather ones that are now available. I have all of the dye color numbers available.
The following are the items (I can remember) that have been replaced with brand new parts:
Interior Related Items Replaced – New
-----------------------------------------------------------
Carpet
Door Panels (upper and lower)
Dash Cap
Metal seat belt clip
Center Console Cap
Radio
Speakers
Power Window Switch
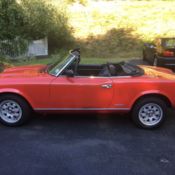 1984 Fiat Spider Azzurra Pininfarina
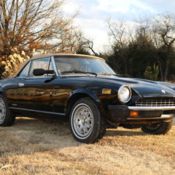 1984 Fiat Pininfarina Azzurra Spider
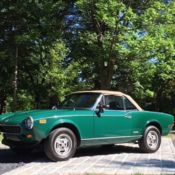 1984 Fiat Spider Pininfarina Azzurra
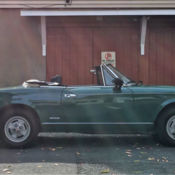 1984 Fiat 124 Spider, 2000 Pininfarina Azzurra
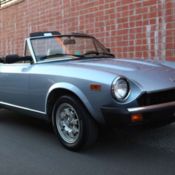 1984 Pininfarina Azzurra “Fiat 124 Spider” only 5kmiles, Collector Quality !!!
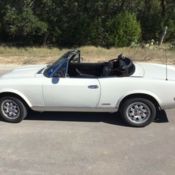 Original Fiat 1984 Pininfarina Spider Azzurra 31,660 actual mile survivor,
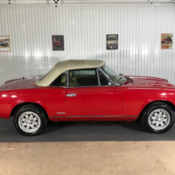 1984 Pininfarina Azzurra Fiat Spider 5-Speed Mint Condition 70K Miles!
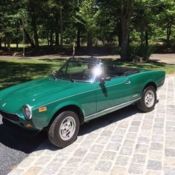 Fiat Spider Pininfarina Azzurra
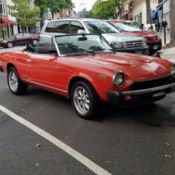 Pininfarina Azzurra FIAT 124 spider